TIRED OF TRYING TO FIGURE IT ALL OUT ON YOUR OWN...? STOP SECOND GUESSING AND LETTING ANALYSIS PARALYSIS PREVENT YOU FROM BEING PREPARED...

When Crisis Hits...
Will You Be Ready?
Join Our Survival Community Now To Access Critical Preparedness Guides,
Connect With A Dedicated Crew Of Survivalists, Gain Expert Skills &
Be Ready For Anything... Starting Today!
Discover How Elite Traders Are Quietly Using AI to Generate Profits While Others Get Crushed
SURVIVAL ISN'T SOLITARY - JOIN THE circle TODAY
In A World Of Growing Uncertainties...
Being Prepared Has Never Been More Crucial
Let's face it... You didn't stumble upon this page merely by chance. Someone sent you this link or the universe thinks you're ready.
Prepping alone isn’t just tough—it’s survival suicide.
You can’t plan for every crisis overnight, you can’t learn all the necessary skills in a matter of seconds, and you can’t shut off the noise that causes analysis paralysis... but you can upgrade your skills and your preps when you find the right core group of people.
Most of today’s emergency preparedness is dominated by cheap gear built by bad actors looking to make a quick buck off the backs of hard working folks just like you.
Here at Survivalist we only want you to join our community if you're ready to stop twiddling your thumbs and want to get better prepared for any crisis that could come your way.
Preparing by yourself is like trying to perform brain surgery with a butter knife while everyone else is using a scalpel.
Get practical survival skills, secure essential supplies and build a solid plan to thrive in any crisis.
In a world of unknowns, be the one your loved ones can count on.

Join A Community Of Beginners & Experts Who Are Sharing The Skills To Ensure You're Prepared For Anything
Dr. Suzanne Goh
Finding Your Child's Voice When Words Don't Come Easy

Cicone Prince
Breaking Through Isolation When You Feel Like Nobody Understands
Thomas West
After Diagnosis ~ Charting Your Path
Dr. Sam Shay
It Was Never Your Fault ~ Releasing Parental Guilt & Finding Freedom
Dr. Tom O'Bryan
Reversing Symptoms Of Autism With Evidence Based Nutritional Approaches
JB Glossinger
From Criticized To Unstoppable: How To Handle Judgement, Doubt & Naysayers

Dante West
Through The Looking Glass ~ My Journey Living In A World That Feels Inside Out
Dr. Suzanne Goh
Why Traditional Approaches Fall Short (And What Actually Works)
Vernon Brown
Create Calm From Chaos With Routines That Actually Stick
Dr. Robert Melillo
Primitive Reflexes ~ How To Identify Them & How They Relate To Autism
Dr. Madiha Saeed
Building Unshakable Resilience In Your Child & Yourself
Dr. Sam Shay
Your Health Matters Too
David Philips
How Life Coaching Can Help Individuals With Intellectual & Developmental Disabilities, Family Members & Their Caregivers
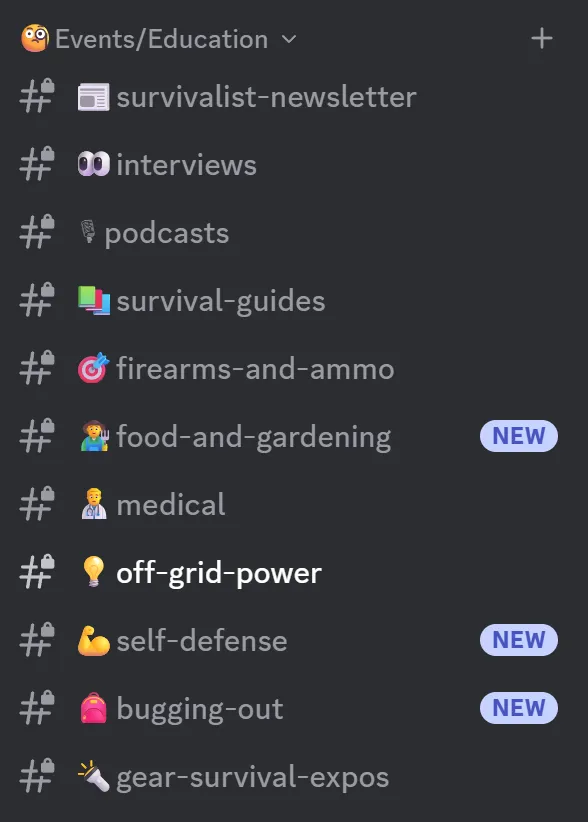
Events & Education
Premium Content
Joining our Survival Community gives you exclusive access to a treasure trove of survival expertise, empowering you to thrive in any situation.
- Survivalist Newsletter: Stay informed with the latest survival tips and trends, ensuring you’re always prepared for what’s ahead.
- Interviews: Learn directly from survival experts, gaining insights that could save your life in critical moments.
- Podcasts: Dive into engaging audio content that builds your skills and knowledge on the go.
- Survival Guides: Access comprehensive, actionable guides to master essential survival techniques.
- Firearms and Ammo: Get expert advice on safely handling and maintaining firearms, a vital skill for self-defense.
- Food and Gardening (NEW): Discover new ways to grow and preserve food, securing your sustenance in tough times.
- Medical: Learn life-saving first aid and medical skills to protect yourself and others.
- Off-Grid Power: Master sustainable energy solutions to stay powered during emergencies.
- Self-Defense (NEW): Build confidence with proven self-defense techniques to safeguard your safety.
- Bugging-Out (NEW): Get expert strategies for effective evacuation and survival on the move.
- Gear Survival Expos: Explore the best survival gear through detailed expos, ensuring you’re equipped with top tools.
This wealth of knowledge is invaluable, offering peace of mind and practical skills that could mean the difference between survival and struggle. You’re investing in your security and resilience—priceless protection for you and your loved ones for less than $0.25 cents a day!
Stop Prepping Solo - Your Tribe Is Waiting For You.
survivalist community
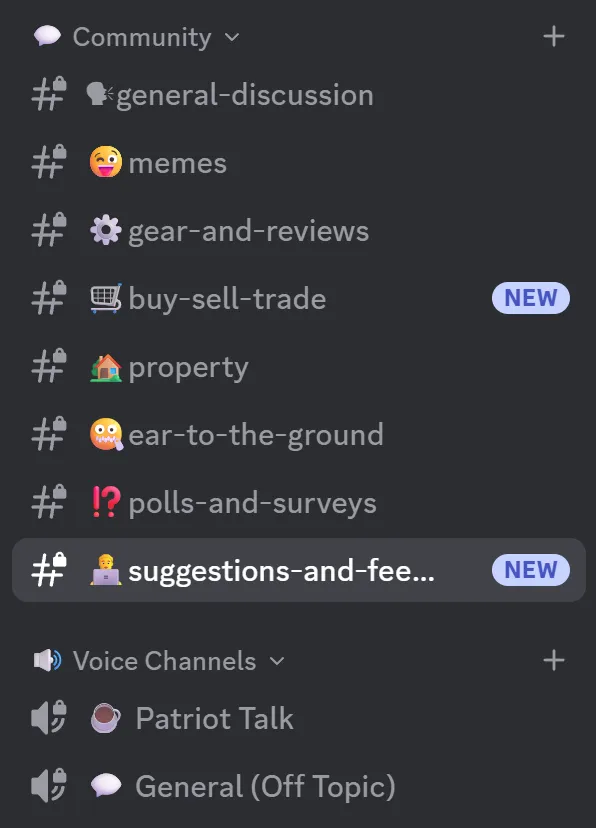
The Prepper Playground
Unlock a vibrant hub of connection and commerce, equipping you with the tools and insights to thrive.
- General Discussion: Engage in open conversations to share ideas and build community strength.
- Memes: Enjoy a dose of humor to lighten the mood and foster camaraderie.
- Gear and Reviews: Access expert gear evaluations to ensure you’re using the best equipment.
- Buy-Sell-Trade (NEW): Participate in a marketplace to trade survival gear, saving money and finding essentials.
- Property: Discuss land and housing options for secure living arrangements.
- Ear to the Ground: Stay ahead with real-time updates on survival trends and threats.
- Polls and Surveys: Influence community decisions and gain insights from collective wisdom.
- Suggestions and Feedback (NEW): Shape the community’s future with your input.
- Voice Channels (Patriot Talk & General): Join live discussions to connect and learn in real-time.
This dynamic platform offers a unique blend of networking, trading, and real-time knowledge, vital for staying prepared. You’re investing in a supportive network and practical resources—priceless support for your survival journey, for just $0.23 a day!